Internet on your WeMos
Something what makes the WeMos a great IoT-device is the possibility to connect to the internet by using Wi-fi. There are some libraries already included in the Arduino-platform of the WeMos which you can easily use to set this up.
The easiest sketch you can use is the following:
1 2 3 4 5 6 7 8 9 10 11 12 13 14 15 16 17 18 19 20 21 22 23 24 25 26 27 28 29 | |
From top to bottom you can read:
- Include the header-file 'ESP8266WiFi.h', which is a library containing functions to connect to the internet.
- Two Macro-definitions, these work like constants, where you can enter the SSID and Password.
- In the setup()-function:
- pinMode(...) & digitalWrite(...): Makes the built-in LED an OUTPUT & turns it off (just in case).
- WiFi.begin(..., ...): Makes the connection to the internet; using the provided SSID and password.
- while-loop: Keeps the program waiting until the Wi-fi connection is working.
- And finally the loop()-function:
- Turn the LED on
- Wait...
- Turn the LED off
- Wait...
Because the while-loop in the setup()-function keeps running while there is no connection you only have a blinking LED when there is actually a connection.
GET-request
When you're connected to the all might internet you can make requests like the webbrowser on your computer does to receive or post data.
This example will show you the data received from the server using a Serial interface, something link printing text in Java/Python/... When running the sketch you can open the 'Serial Monitor' to display the text:
Make sure you have selected '115200 baud' as the speed:

Now you can make a GET-request using the following sketch:
1 2 3 4 5 6 7 8 9 10 11 12 13 14 15 16 17 18 19 20 21 22 23 24 25 26 27 28 29 30 31 32 33 34 35 36 37 38 39 40 41 42 43 | |
What you can see in this code:
- The setup()-function is almost the same as previously, except the LED initialisation is removed.
- Inside the loop()-function:
- WifiClient & HTTPclient used to setup the request.
- httpClient.begin(): makes the request to http://koffiepunthva.nl/api/
- Ask Mats for a cup of coffee to test this part of the code 😜
- httpClient.GET(): receive & check the http code.
- httpClient.getString(): gets the data, the payload, back from the request.
JSON parsing
When working with API endpoints you often have to deal with formatted text, a commonly used format of text is JSON. This can look like:
1 2 3 4 5 6 7 8 | |
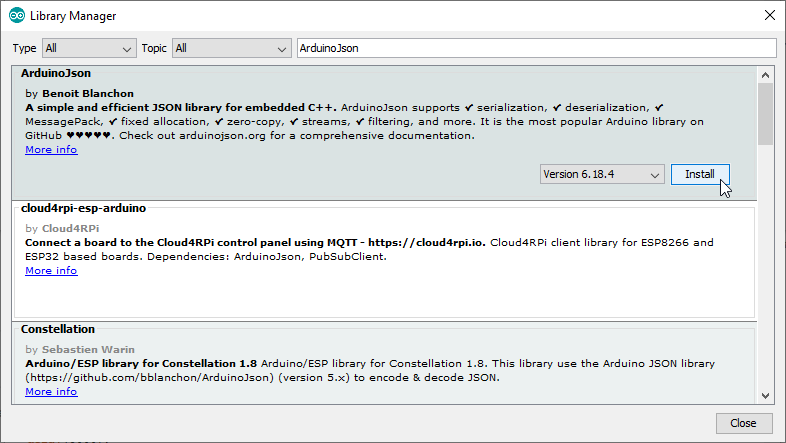
To parse this text to something useful there is a library available, you can install this by going to the menu in the Arduino IDE 'Sketch' > 'Include library' > 'Manage libraries...' and search for 'ArduinoJson' and install this library:
Follow this steps to integrate the JSON-parser in the GET-request sketch:
Include the library:
1 | |
Declare a buffer in your program used to hold the data, make sure it's big enough for the contents:
1 | |
Deserialize (parse) the payload of the request into the jsonBuffer:
1 | |
Get a value from the JSON, like coffee:
1 2 3 | |
Or tea:
1 2 3 | |